Your cart is currently empty!
Author: admin
Did Someone Say Valentine’s Day?
This week is a hard time for a lot of my single sisters. Maybe because it is your first Valentine’s Day without your special someone, or you are in a season of waiting, or maybe something else. I know that this week is hard for you. I just wanted you to know that I see you. I love you. I’m praying for you. God has a plan for all of us and we need to trust in His timing and His purpose for our lives.
I’m in a season of waiting. I’ve been single for 6 years now and I have to say that I honestly love being single. Someone asked me recently about my single mom life and I explained it like this. I am really happy with my life right now. It is a great life with children I love, good friends, a social life as active as I want and a business I enjoy and pour into. It would take a really, really special man to make me give up time in these areas to spend with him. As of now, God just hasn’t brought anyone like that into my life. So, I’ll wait on him — and if there isn’t a man like that in my future … I am really ok with that too.
If you are finding yourself feeling lonely about Valentine’s Day, here are some ideas of some things to do …
1. Galentine’s Day Dinner. Get a group of girlfriends together for a fun Galentine’s Day dinner out. My girlfriends and I are going Thursday night. It is a standing date that we have February 13th every single year.
2. Redbox or Netflix. A movie marathon is a fun way to spend the evening. You could binge your favorite leading man or watch all of your favorite comedies.
3. Family Meal. Plan a fun family meal and get the kids involved in the cooking and menu planning. Eat by candle light and even invite your parents or a single neighbor! How about this for dessert? It serves as dessert and a craft after dinner is over. Don’t forget to make the kids clean up!!

4. Serve Someone Else. Offer to help a married friend or family member. Babysit so that they can go out, and then spoil their kids rotten!! Order a pizza and they will think you are the BEST!
5. Unplug. Take the day (or week) to unplug from social media.
6. Treat yourself . Maybe that new sweater you keep eyeing in the store window or how about a massage?
7. Game Night. Have a game night and invite all of your single friends
8. Crafts. A craft night with the kids, they will love your getting out all of the craft paper, googly eyes and pipe cleaners
9. Just Relax. Stay in and have a self care night — a long hot bath, facial, paint your nails and take care of you!
10. Sewing. Invite your single friends over who don’t sew and teach them how to make in-the-hoop earrings! My friends are obsessed with these earrings and when I mentioned this idea to them, they couldn’t say yes fast enough!
11. Organize. It could be your sewing studio, your closet or just a drawer. Clean it out and when you are done, you will feel so good about what you accomplished!Happy Valentine’s Day my sisters! I love you and remember … Jesus Loves you Too!
Welcome to my Happy Place
Like many of you, my sewing space has changed vastly over the years. When I first begin 14 years ago, I had one little Brother PE770 that I used on my dining room table. All of my fabric could be contained in a 3-drawer bin and my thread fit neatly in a small box. As my love of sewing, applique and embroidery grew … so did my space.
From the dining room table, I moved to our finish basement room. Then a move to a different house had me working out of a TINY 4th bedroom with no closet so I had to use the 2nd master closet for all of my extra fabric and blanks. Yet another move put me into a finished room above the garage with odd windows and slanted ceilings that made wall storage challenging. Finally, after many years of waiting, saving and planning my family and I moved into our forever home and with it — a decent sized 4th bedroom just for me and my business. This would be my largest sewing studio and my first closet!!

Tiny 4th Bedroom Sewing Studio 
Closet Located on a Different Floor 
Over the Garage Space I still remember calling a local kitchen cabinet maker and explaining to him that I wanted kitchen cabinets built into an UPSTAIRS bedroom to be used as a craft room. “Can you help?” Of course he could, he said that they do it all the time (I’d found my people and wasn’t alone). He met me out at the house and he drew the plans on the wall while we talked about what I desired in my dream room. I took a picture of the plans we came up with and he told me to stop by his shop about a month before I was ready to install with the picture and we’d finalize the details!!
When I went to his woodworking shop I picked out every detail of my room; color, hardware, trim and I even took a fat quarter and a “still in the package” shirt so that I could have custom cubbies built for my fabric and shirts. I was in HEAVEN!!! After all of the details were done, I was a bit over budget and being the good Dave Ramsey student I was, I decided to forego the cubbies in my closet until a later date (this would later be a blessing in disguised).
We were ready!! I hit my budget and in about a month, I’d have my dream studio.
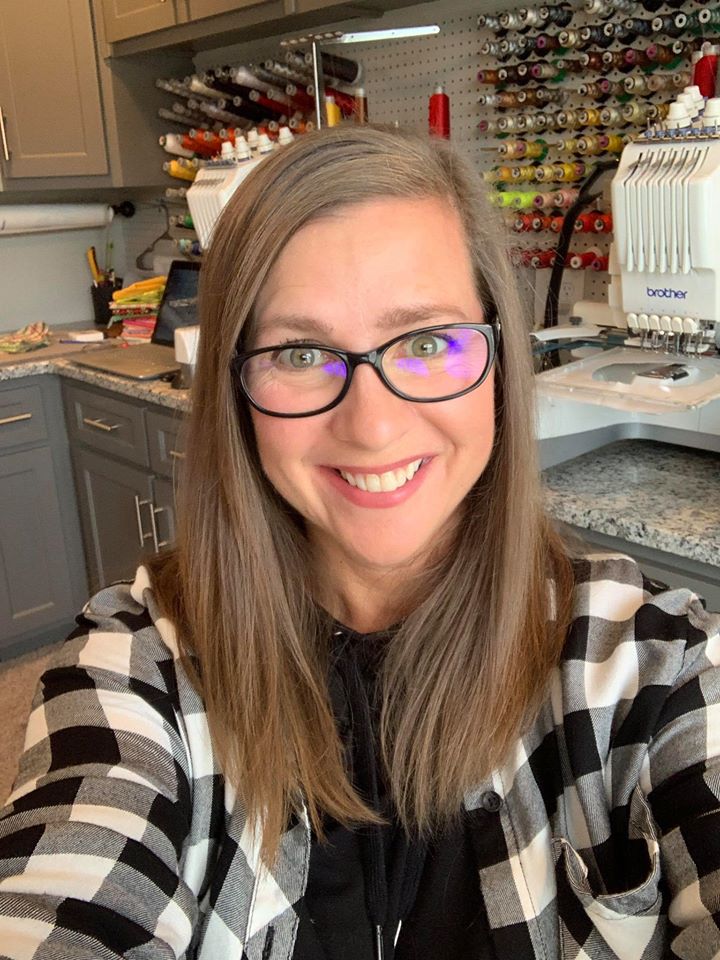
I was not at all disappointed with my end result. I have storage galore and room to grow if I need it! My cabinets house my 3 beautiful machines easily (2-Brother 6-needle machines and 1-Babylock 10-needle machine). I have big cabinets that I can store my sergers and regular sewing machine with the big door closed to keep them safe and dust free. I have space for all of my supplies and blanks, plus all of those other craft items that find their way into my shopping cart when I’m exploring Hobby Lobby.

View Of the Island and Machines 
Lots of Storage, Desk Area & Peg Board 
Fat Quarter Storage 
Walk in Closet of Blanks I mentioned that I didn’t pay to have cubbies built into my room and it was a happy accident. I bought the lower cubbies at Target years and years ago to keep my fat quarters. I thought at first that I wasn’t going to be able to use these at all in the new space … but then I measured and with a little muscle they fit in my space perfectly! I bought 2 more sets and stacked them on top and now it looks like I have a custom closet!
Thanks for taking a tour of my space! I hope that it inspires you!
In-The-Hoop Earrings
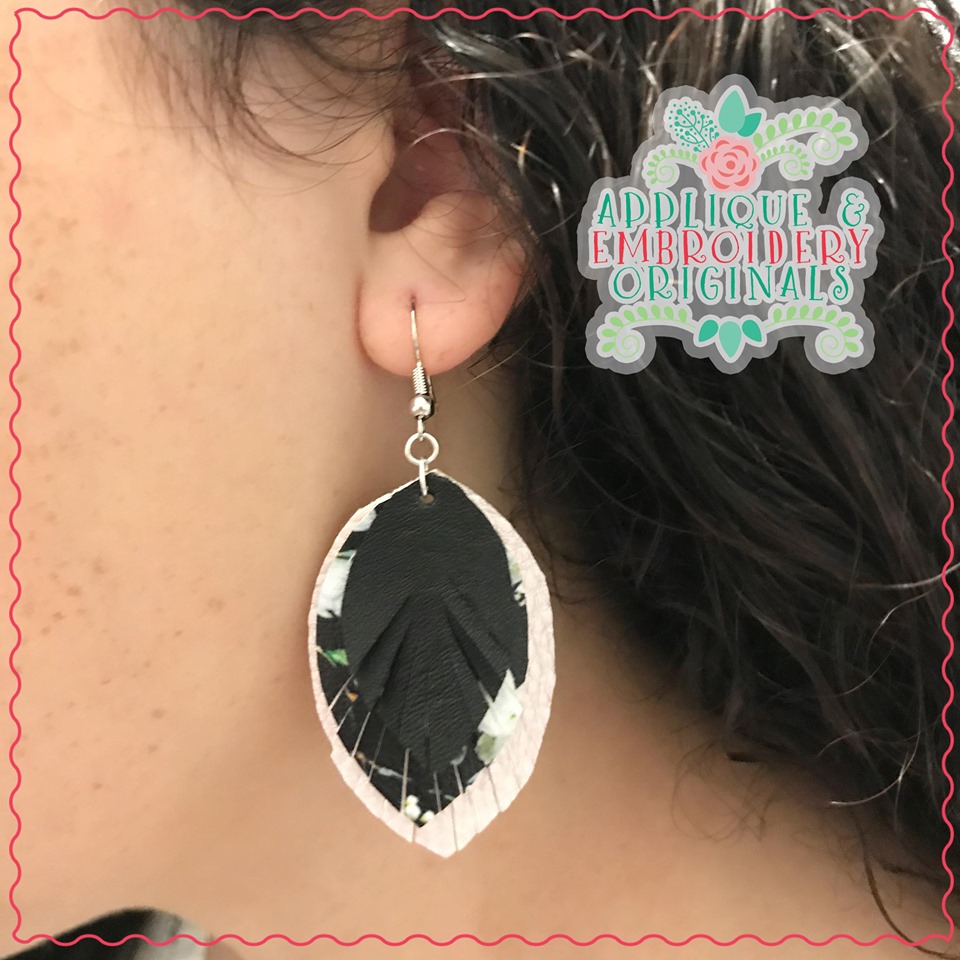
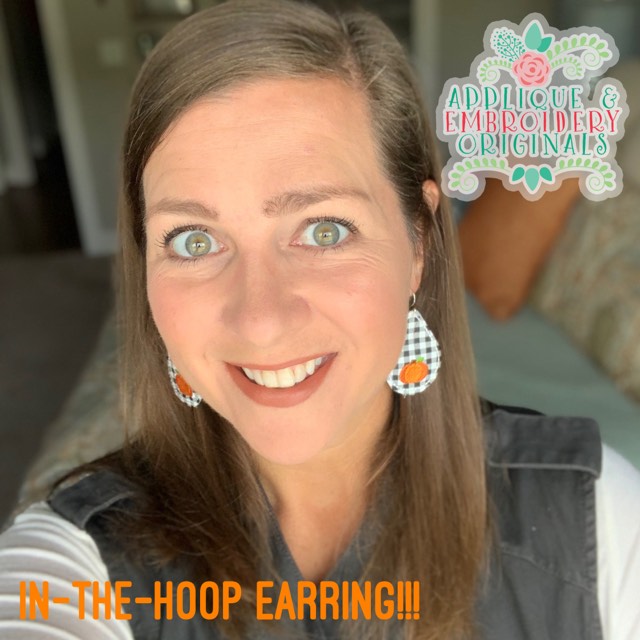
Earrings made 100% in the hoop? Simple, easy and affordable. These earring stitch up so quickly — you’ll be amazed. I’ve had so many questions about how to make these, I whipped up this video to show you exactly how I make mine!!
If are looking for the materials used to make these earrings, look at my other blog post! There you will find a complete list of materials used and even a few links to make your shopping super easy!
These are perfect for holidays and everyday!!
Materials for In-The-Hoop Earrings
Everyone wants a pair of in-the-hoop earrings from Applique & Embroidery Originals. And why wouldn’t they? They are inexpensive to make, stitch fast and easy, and just look how cute they are on! These are amazing as a gift (don’t forget teachers), for yourself or to sell.
There were so many questions on the Facebook pages and Instagram about how to put the earrings together AFTER they were done sewing, that I thought I’d go through a quick resource gift. A video should be coming in the next week how to actually stitch and put everything together!
Lets get started on what you need …
- faux leather or thick vinyl (like marine vinyl)
- earwire
- jump rings (depending on your your earwire)
- leather hole punch
- Needle Nose Pliers (2 pair if you are using jump rings)
- Embroidery machine
- thread
- water soluble stabilizer (I like badgemaster)
FAUX LEATHER & VINYL
The first thing that you need is some kind of faux leather or heavy vinyl material. The options are endless!!
MICHAEL’S or JOANN’S (I’m sure you can buy these online as well)
I ran to Michael’s to see what they had and the only thing I could find were these Cricut Leather Sheets. They sell them in the Cricut section. They were a little pricey but I really do like them, especially in the layered earrings. On a few on the more dense earring designs they didn’t lay flat when they were done because of the embroidery so I would probably save these for light embroidery or as the “back” of your project.
HOBBY LOBBY
Hobby Lobby is my store. I love it. Everything. Oh my. Sorry, moving on … Your first option at Hobby Lobby is in the ribbon section (who knew, right?). Located on an end cap in the ribbon department (right in with the fabric) you’ll find these rolls of faux leather ribbon. It is super thick and works so well!! I’ve used it on some of the bigger embroidery designs and it stitches so well!! Plus, every few weeks it is on sale so that is always a score! They carry solids, glitter and patterns. Two of my favorite patterns are the red/black buffalo and the black/white stripe.
Option number 2 is in with the big bolts of decorator fabric. You can see here that they were on sale when I was there — 30% off. I plan on buying about 1/8th of yard of this in a couple of neutral colors and using them for my earring backs in place of some of my more expensive faux leathers.
ETSY
Etsy is amazing. I’m serious. There are so many sellers selling amazing faux letter in so many different patters. I’ve bought mini houndstooth, mini gingham, buffalo checks, Christmas lights, and even sewing machines!! You have to search and look through peoples stores to fine what you want, but I promise you that it is out there!!
Here are a few of my favorite shops:
Glitter with Grace (click for link)
EARWIRE
Kind of a strange word for it — yes? Earwire is the “hook” that goes into your ear. There are a couple of different kinds and each has their own unique traits.
All of these were purchased at Hobby Lobby and the week that I was there, they were 50% off which was a huge SCORE for me and my budget. They have these in ALL JEWELRY sections of craft stores: Michael’s, Joann’s, Hobby Lobby and even Walmart carries jewelry making supplies!!

- Ear Wire with Ball — they had these in gold, silver and maybe even a darker rust color. The wonderful thing about these is that if you are doing an earring with a single layer, you just slip these on and you are DONE!! You don’t need the jump rings or the pliers. I really love these and my customers who I’ve sold some of the earring samples too like the dressier look of these earrings.
- Kidney Earwire — When I first bought these I used them on the gingerbread man earrings and I put them on and posted a picture asking if every one liked them. Not so much. You all were real honest that you didn’t care for the kidney earwires and I too, felt like they were a little long (especially for my short neck). So, I went back to the store and found these — they are much shorter/smaller and work really well. Again, another super simple, no tools needed fix!
- Fishhook Earwire — these are probably the most popular. These are the hooks that you will also need jump rings and pliers with!
We are in the home stretch now, just a couple more things that you need. Are you still with me? Lastly, jump rings and a leather punch tool.
The jump rings can be found again at any craft store or even Walmart. Jump rings are used with the Fishhook Earwire. In order to get the earring to hang in the correct direction you need 2 jump rings. A smaller one (I personal use 4mm size) that attached to the earwire and then the larger one (I use the 6mm) that attached to the smaller one and through all of the layers, or layer of the earring. You will need to open the jump rings with your pliers and close them as well. I’ll go more into that “how to” with my next blog post.
I purchased my leather tool punch at Michael’s but you can buy them in a variety of different places. There is a picture of mine above. Make sure that whatever kind you use that it is small enough for earrings and not too big. Recently I was looking for another source, and I found THIS PUNCH on Amazon and it is identical to mine for a fraction of the price!!
That is all you need and these supplies really go a long way! You’ll be able to craft so many earrings with just these few supplies!
Cinnamon Roll Spiders
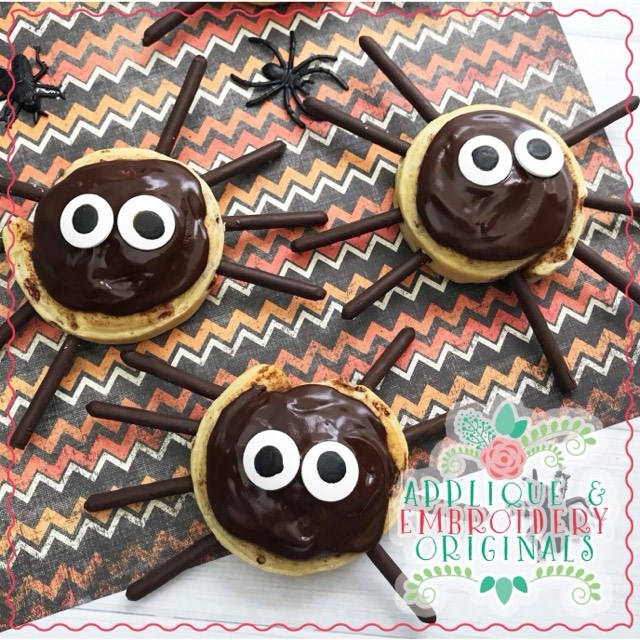
Cinnamon Roll Spiders
Halloween is one of my, and my kids favorite times of the year. I’m not exactly sure why we love it so much. For me, I think that it has a lot to do with the long summer and my love of crafting and decorating. I don’t get the opportunity to decorate the house and do specific holiday crafts with the kids during the summer. So that long period from Easter to fall decorating rejuvenates my love for holiday decor and sometimes even baking!!
These are fun and pretty delicious too!!
Here is all you need to get started to make your very own Cinnamon Roll Spiders …
Ingredients:

8 ct package of store bought cinnamon rolls, any brand
2 boxes of Pocky (red box)
Large candy eyes
Kitchen scissorsChocolate Glaze:
1/2 C. semi-sweet chocolate chips
2 tbsp butter
2 tsp. light corn syrupDirections:
Open the package of cinnamon and bake according to package directions.
Remove from the oven and let cool.
Add the semi-sweet chocolate chips, butter and corn syrup to a small microwave safe dish. Heat for 30 seconds, stir and heat again until melted.
Once the cinnamon rolls are completely cool, use the kitchen scissors to snip the pocky stick to about 3″ in length. Gently press into the sides of the cinnamon rolls for the spiders legs. 4 on each side = 8 legs total.
Use a small spoon to frost each cinnamon roll and then give it 2 large candy eyes.
Repeat with all cinnamon rolls.
Amazon Links:
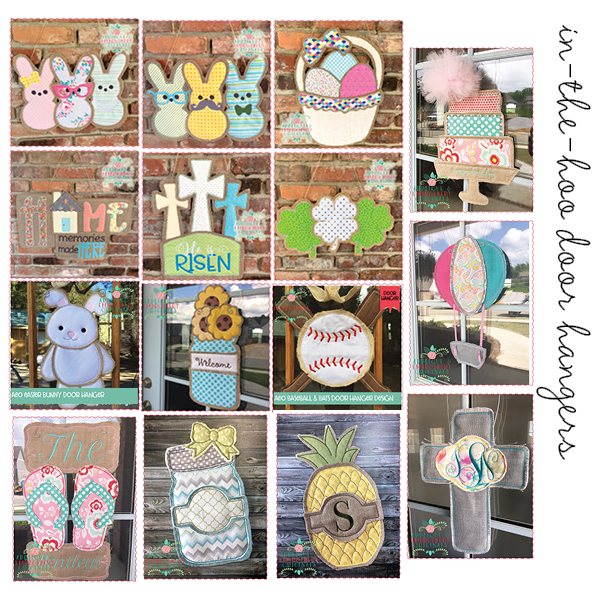
Video — In-The-Hoop Door Hangers
In-The-Hoop Door Hanger Instructions
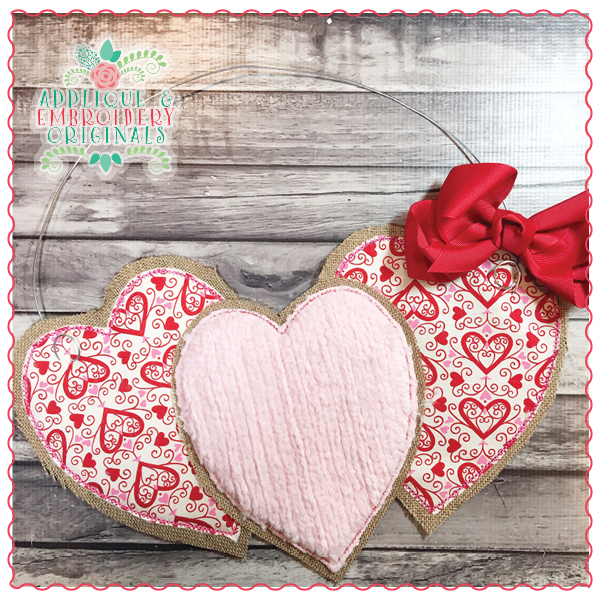
Door Hangers, they are amazing right?? Did you know that every Door Hanger design comes with a pdf instructional tutorial? I’m a visual learner so I’ve included pictures to walk you through the entire process step-by-step along with the written directions. All tutorials also include approximate finished sizes, materials needed and required number of hoopings! If that isn’t enough, and you’d like to watch me make one of these amazing door hangers, click below for my YouTube video of the Valentine Heart Trio. Once you understand the basic concept, you’ll find you can make any of my door hangers!
Buy the burlap HERE.
Buy the design HERENow that you’ve seen how easy making a door hanger can be, I’m sure that you’ll want to check out all of my current door hangers! New ones are being added weekly!
Introduction to Applique & Embroidery Originals
Welcome to Applique & Embroidery Originals …
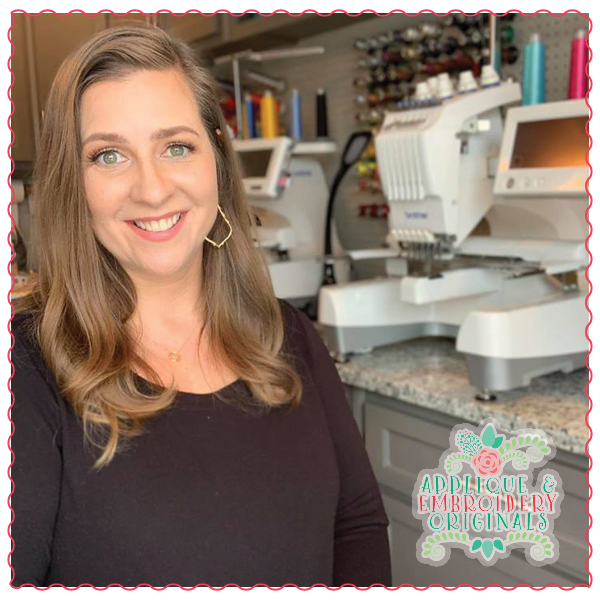
Hello and Welcome!! My name is Molly and I am the owner of Applique & Embroidery
 Originals! I launched AEO in August of 2017 after working in the industry for over 13 years, for 5 different digitizing companies as an independent contractor! I’m so thankful that these designers took the time to mentor me and help me grow in this industry; and supported me to become the digitizer that I am today. My love of monograms, applique and embroidery led me to create my own business and it was a natural jump from being an independent contractor.
Do some of my designs look familiar to you? They will if you have been around as long as me!! I was blessed with the opportunity to buy a large portion of the Hang to Dry Applique catalog in October 2017 when their doors closed and most recently added the Pick & Stitch designs to the site in October of 2018. In addition to designs, fonts and in-the-hoop projects from these two amazing designers — you’ll find my own original creation on my pages!
Did you notice anything else new on the website? Watercolor Designs!! I’m excited to have my friend, my favorite artist and another amazing Girl Boss on the team, offering my customers the cutest watercolor designs I’ve ever seen!! That makes Applique & Embroidery Originals you one stop place to shop!
Thank you for joining me on this journey!! I can do all things through Christ who strengthens me. ~Philippians 4:13


